Creating a Stories Campaign
Prerequisites:
- You need to have a Nudge account to access the dashboard. See how to create an account on Nudge.
- Ensure you have Nudge integrated into your application via our SDKs.
Step 1: Start a New Campaign
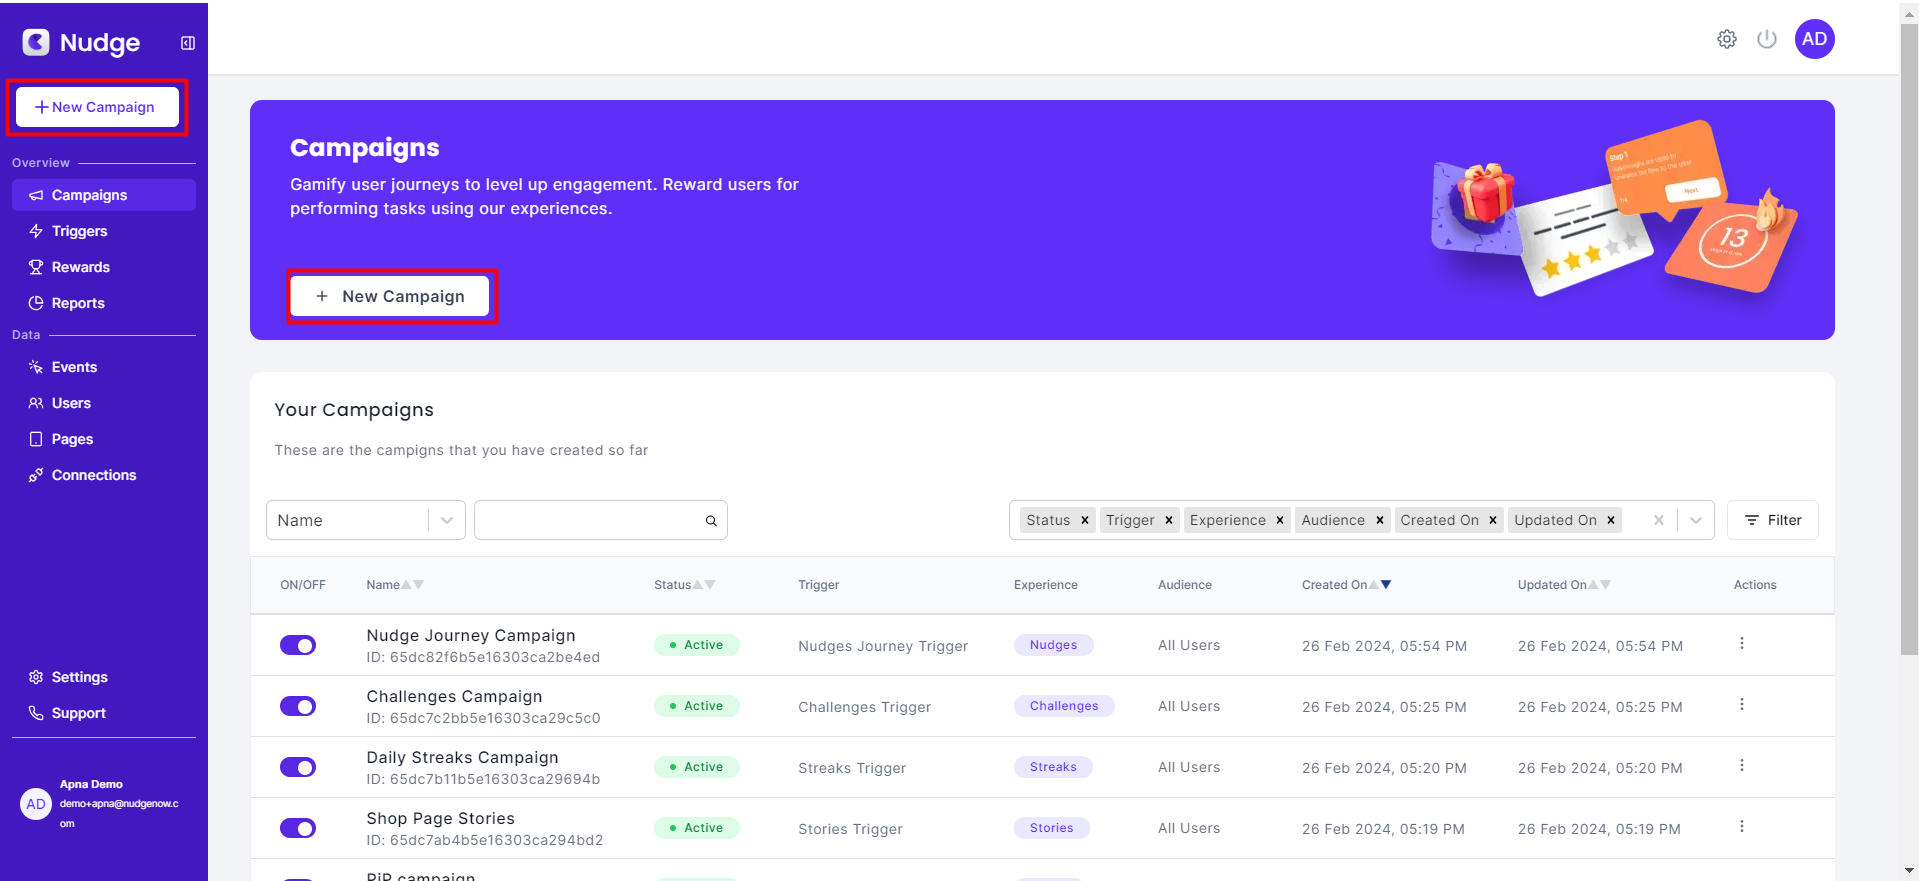
Begin by clicking on the “+ New Campaign” button either on the sidebar or the campaigns page on the dashboard.
Step 2: Choose the Stories Campaign
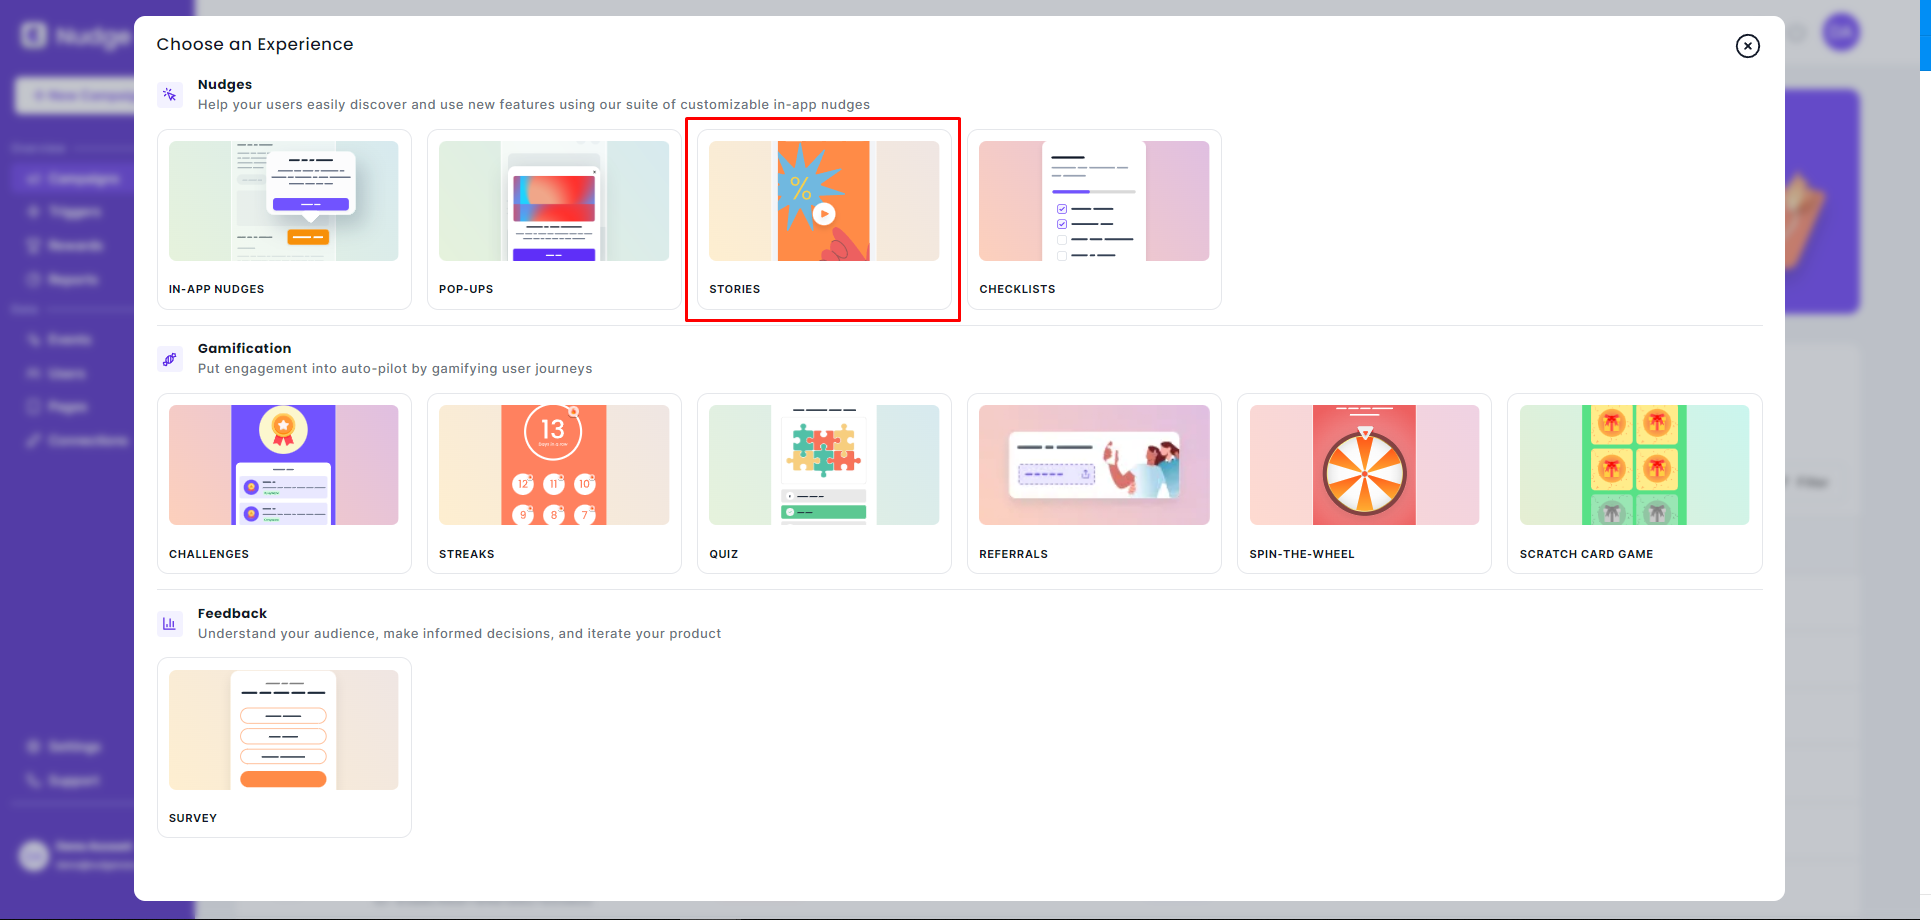
Select "Stories" from the campaign modal.
Step 3: Enter Campaign Details
Fill in the essential details for your campaign, including:
Name: The title of your campaign.Trigger: The action or event that will start your campaign. You can select an existing trigger or create a new one.Audience: Specify which users will see this campaign.Description (optional): A brief overview of your campaign.Platform: The platform where your campaign will run, such as iOS, Android, etc.
Step 4: Create and Edit Your Stories
After entering the necessary details for your campaign, it's time to create your stories.
Editing the Story:
- Click the
Add Storybutton to add new stories. - Click the
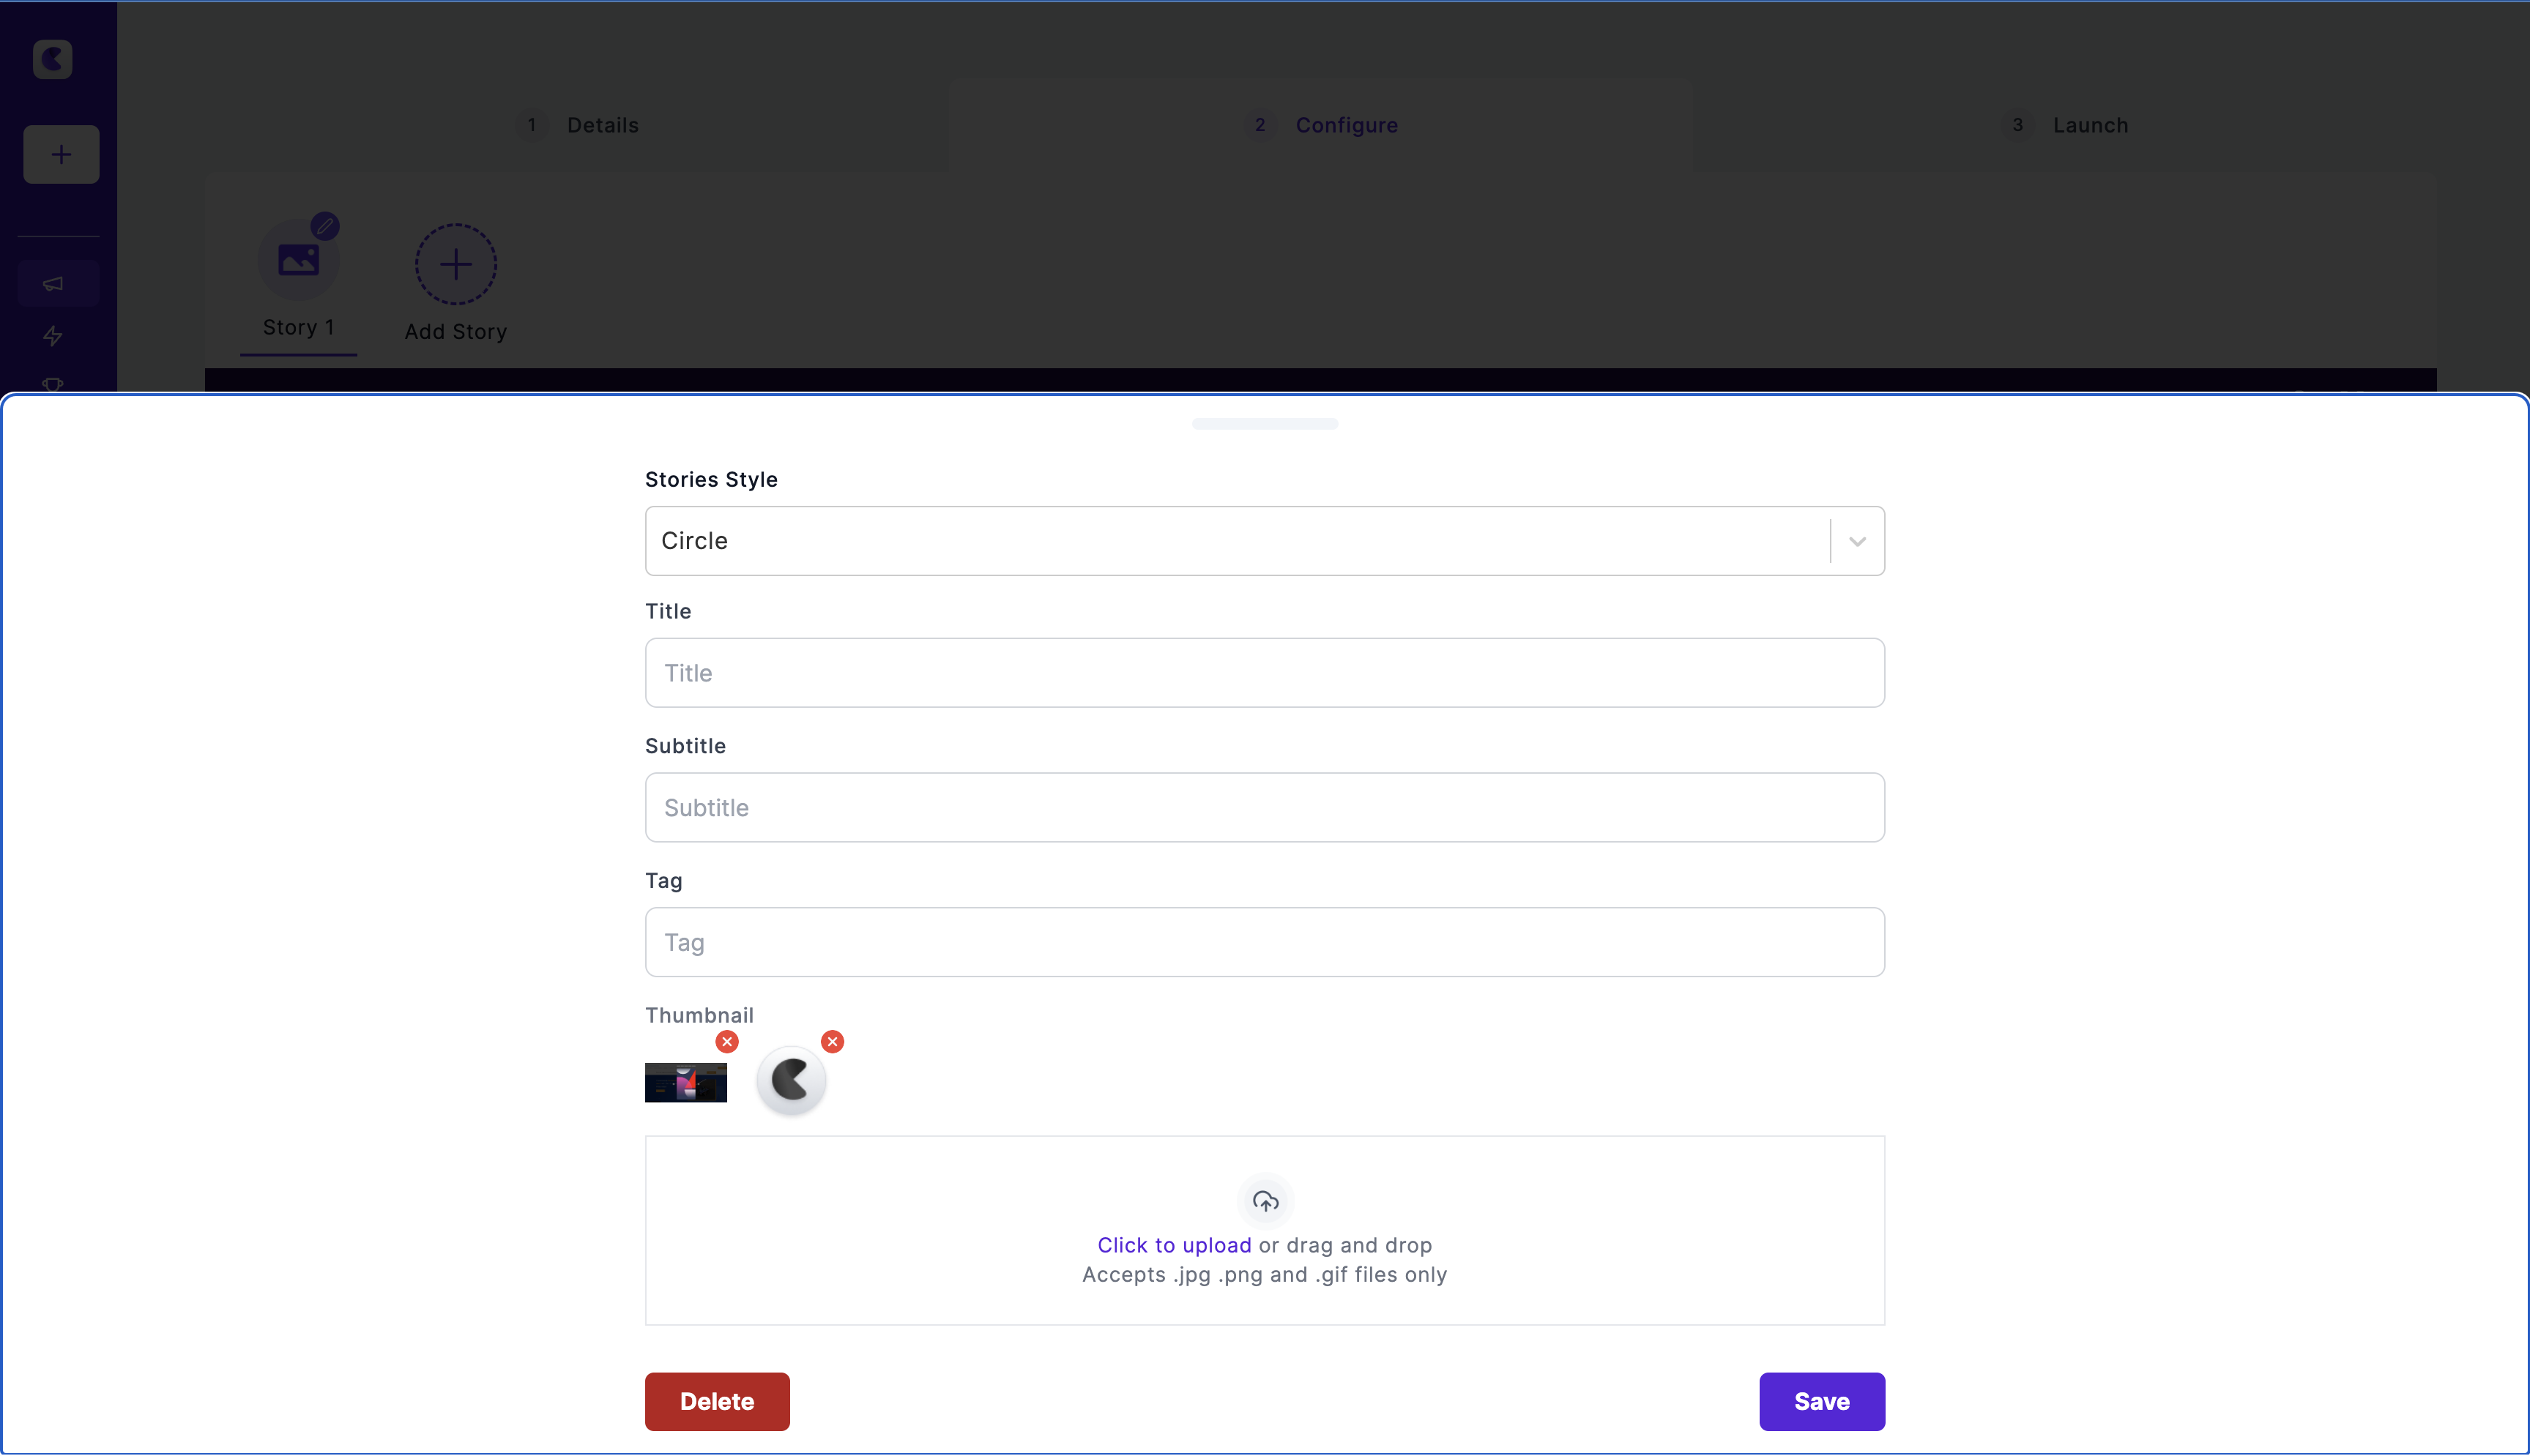
Editbutton on the story thumbnail to open a bottom drawer where you can edit the following:

For each story, you can add the following:
Stories Style: Circle or Square.Title: The title of the story that will appear below the cover.Subtitle: The subtitle of the story.Tag: Tags to categorize your stories.Thumbnail: The cover image of your story.
Editing Slides:
- Choose the media you want to add to your slide. Check out the media recommendations here.
- Add new slides to your story by clicking on the
Add Slidebutton. - Click on the
Add Componentbutton to add new components to the story. Types of components include:- Text
- Media
- Button
- Swipe up

Step 5: Finalize and Launch
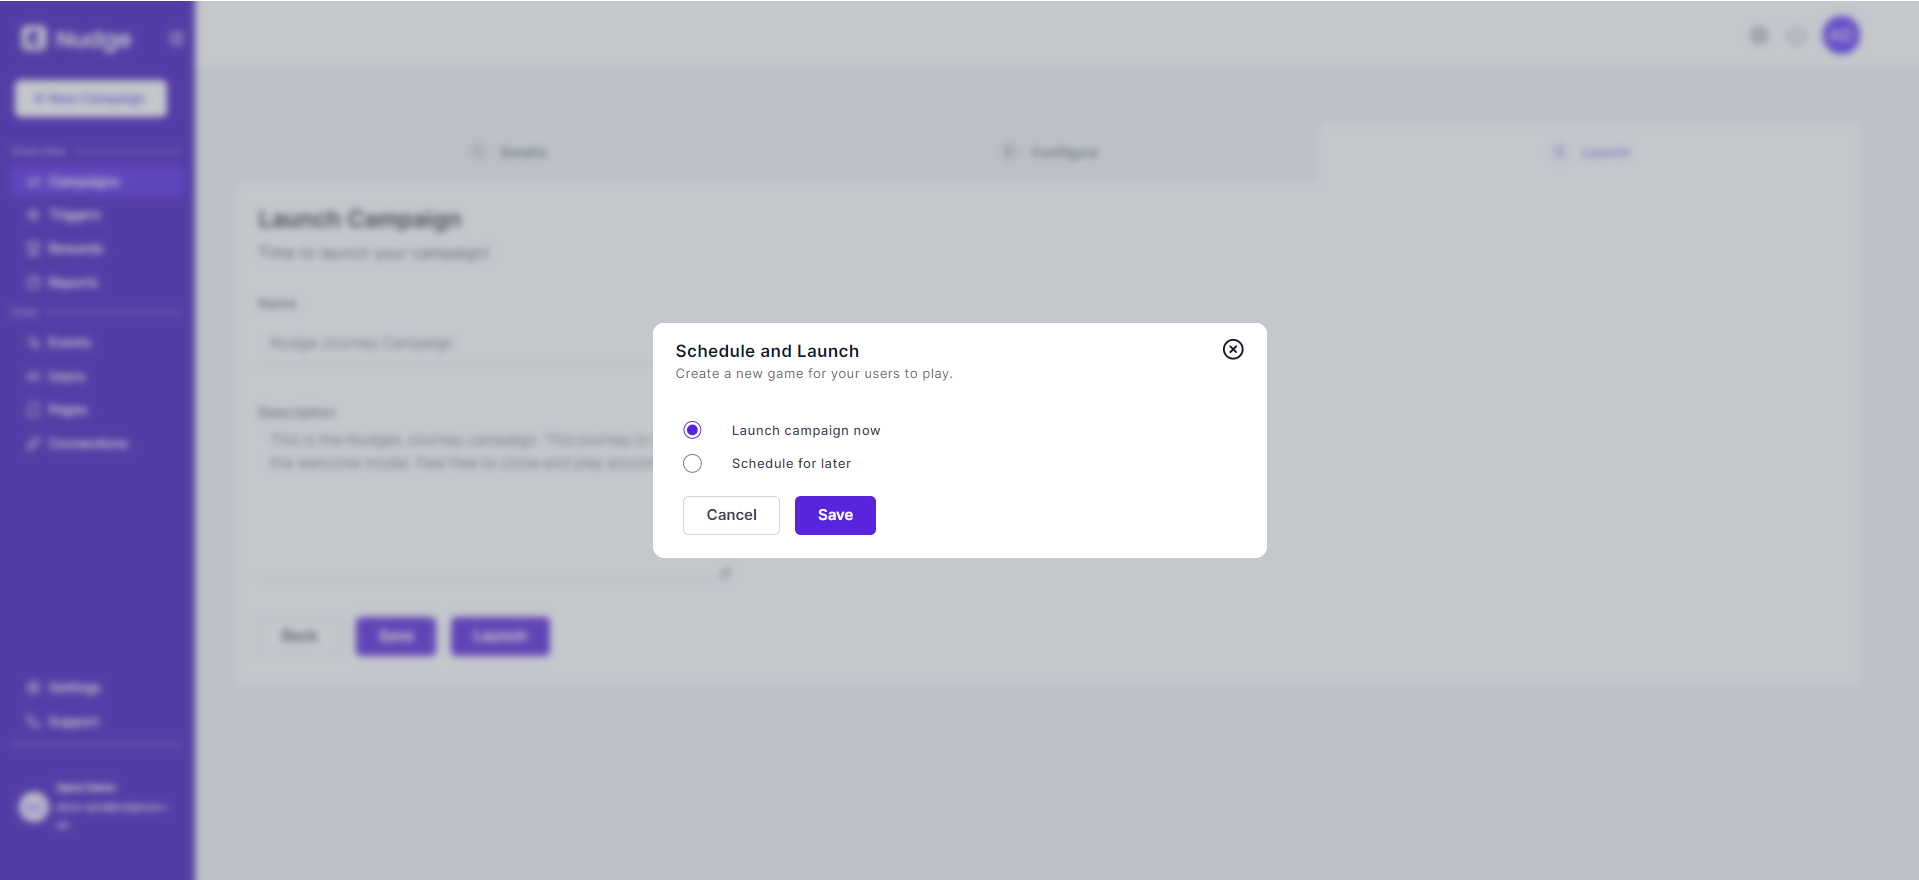
Finalize your campaign setup. You can choose to launch it immediately or schedule it to go live at a later date.
Now, you will be able to see the Stories you created in your application.